
Cheesy, Garlic Butter Rollups
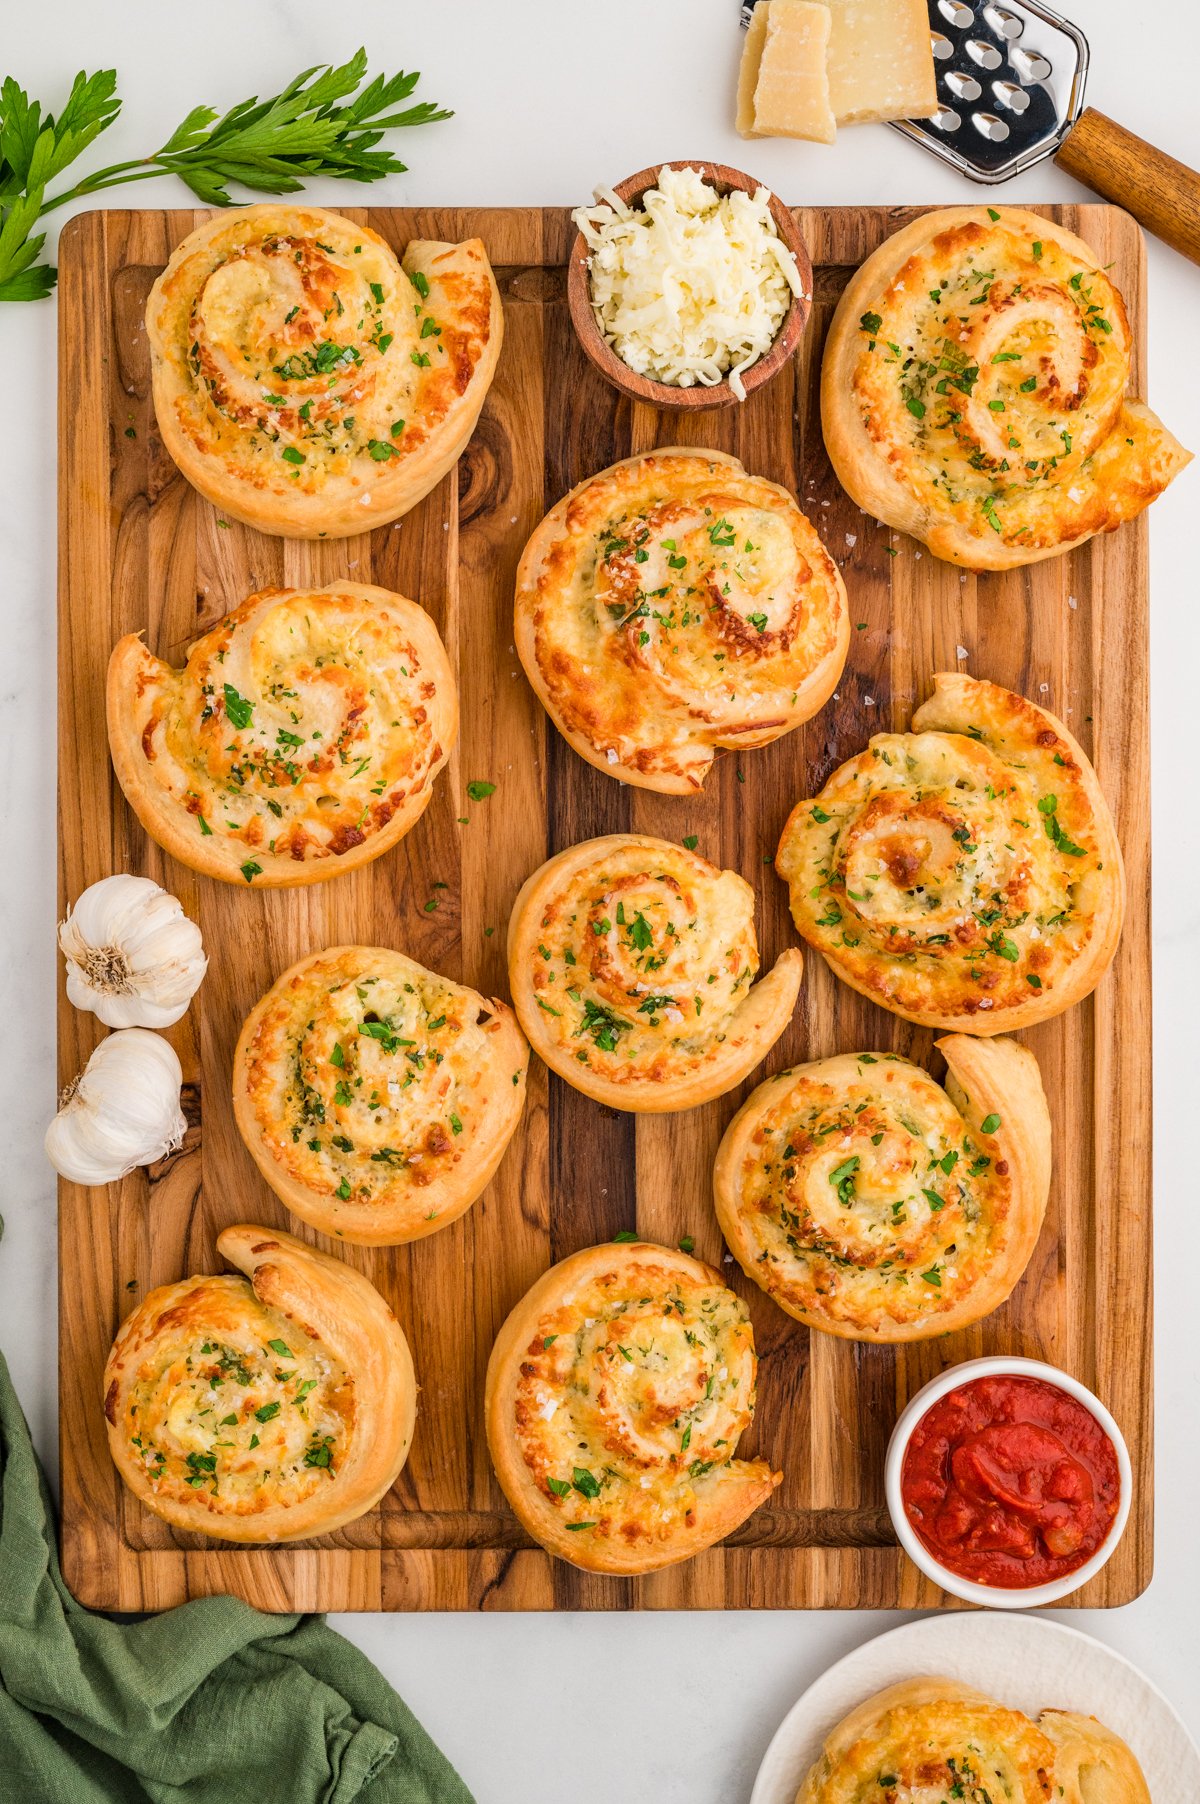

Cheesy, Garlic Butter Rollups are a fun twist on my normal breadsticks. If you notice, the 2 recipes for the dough are almost identical! This is because that breadsticks recipe is literally the best recipe for breadsticks in the whole world so why would I use any other base for this fun, new recipe??
These Cheesy, Garlic Butter Rollups can be enjoyed on their own as an appetizer, served with a marinara or an alfredo sauce for dipping, or served with your favorite pasta or soup. They’re super cute and ridiculously delicious.
Since this recipe has been so popular (nearly 1/4 of the hits to my blog are for this recipe! And for good reason!) I’ve made similar rolls- Chicken Cordon Bleu Rollups and Pizza Roll ups. Both of those are a really yummy roll using the same base recipe! I’m sure there are so many other add-ins you could use to make these in your own ways! If you do, let me know in the comments and it may inspire me to make a new recipe for it!

Tips for Perfect Cheesy, Garlic Butter Rollups
-Flour: Start with 5 cups of flour and add more if necessary. You want a dough that’s soft but not sticky.
-Garlic: Adjust the number of garlic cloves to your personal preference. For a more mild flavor you can roast the garlic before adding it.
-Rising Time: This will depend on the temperature of your kitchen. The warmer the place is you are letting the dough rise the faster it will double in size.
-Cutting the Rolls: You can cut the rolls in several ways: Dental floss, a sharp knife, or a bench cutter will all work. Just try not to squish them when you cut the rolls.
-Dip them in your favorite sauce: My homemade pizza sauce or browned butter alfredo sauce are delicious options for dipping these yummy rolls.
-Pair with your favorite pasta: Pasta rosa, Stuffed Shells, Easy spaghetti, 1 pot alfredo, or lazy man lasagna.
Originally posted on 2/23/21, updated 12/13/24. Recipe slightly updated (see notes section for the change) and all new pictures.
PrintCheesy, Garlic Butter Rollups

Cheesy, garlic breadsticks but rolled up like a cinnamon roll! Great to serve as an appetizer dipped in marinara or as a side with your favorite pasta dish.
- Prep Time: 20 minutes plus rising time
- Cook Time: 20 minutes
- Total Time: 40 minutes plus rising time
- Yield: about 12-14 rollups 1x
Ingredients
Dough-
2 cups warm water
4 teaspoons yeast
3 tablespoons sugar
5–6 cups flour *see note
1 tablespoon salt
2 teaspoons garlic powder
Filling-
6 tablespoons butter (salted), room temp & super soft
7–10 cloves of garlic, minced (to taste)
4 oz mozzarella cheese, shredded (about 1 cup)
4 oz parmesan cheese, shredded (about 1 cup)
¼ cup fresh parsley, minced
garlic salt, for sprinkling
Topping-
Sea salt flakes, optional
2 tablespoons butter, melted (for brushing after cooked)
Instructions
Dough-
Preheat oven to 375 F. Line 2 baking sheets with parchment paper.
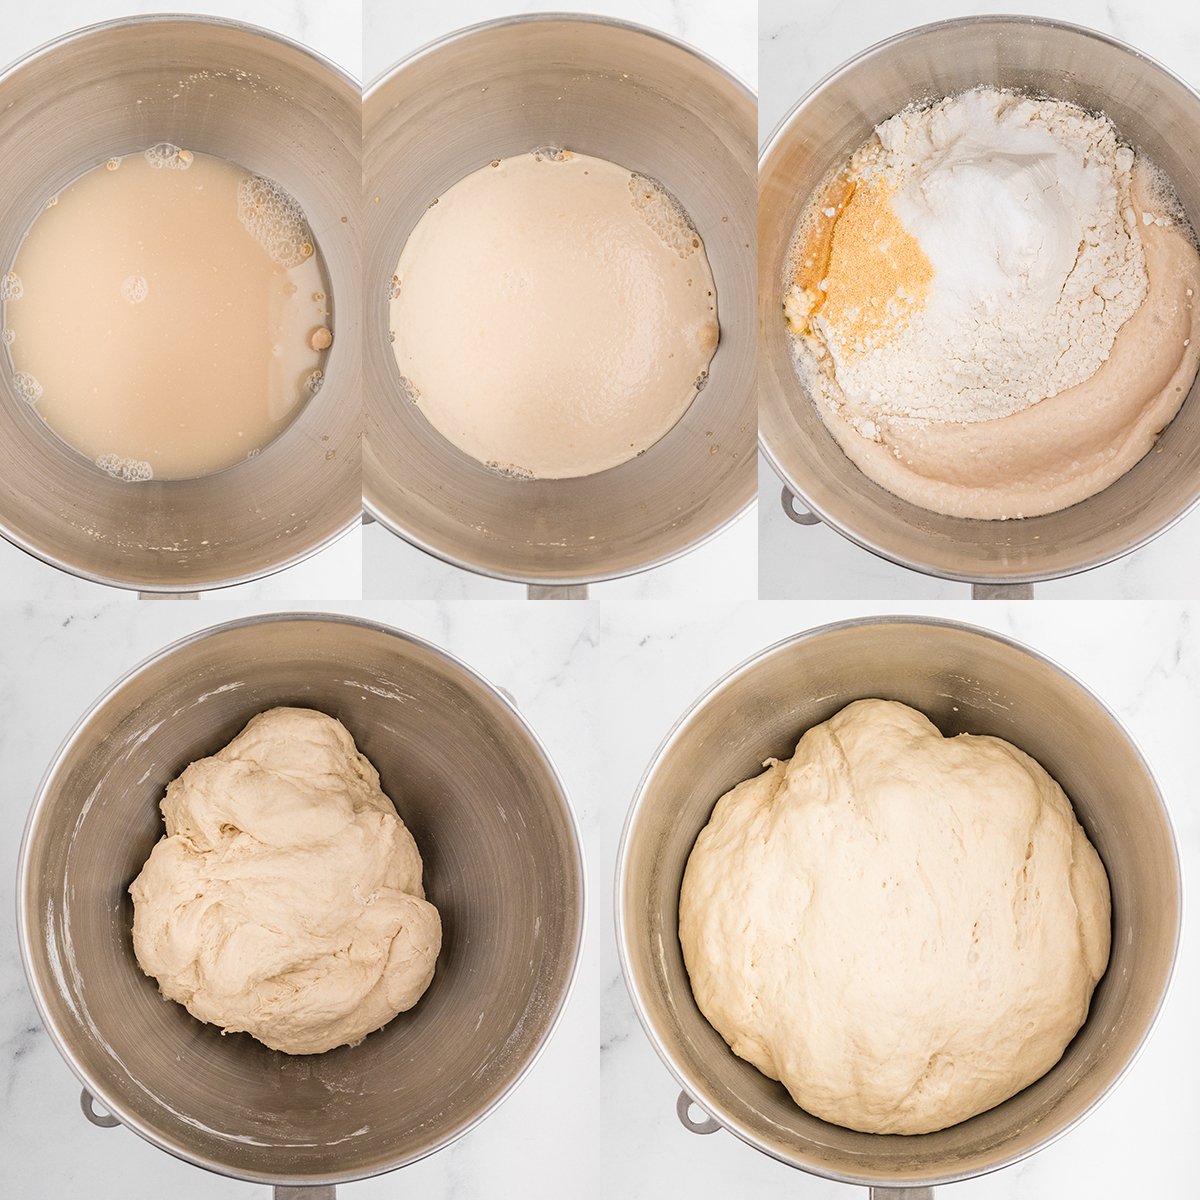
Stir water, yeast, and sugar together in the bowl of a stand mixer. Let sit for 5 minutes until it starts to foam.
With a dough hook attached add in the flour, salt, and garlic powder and knead until dough combines together around the hook (about 3-4 minutes). Remove the dough briefly, just hold it in your hand or place on counter and spray the bowl with cooking spray. Return the dough to the bowl and cover with plastic wrap. Let sit in a warm place for 45-70 minutes until doubled in size.
Filling-
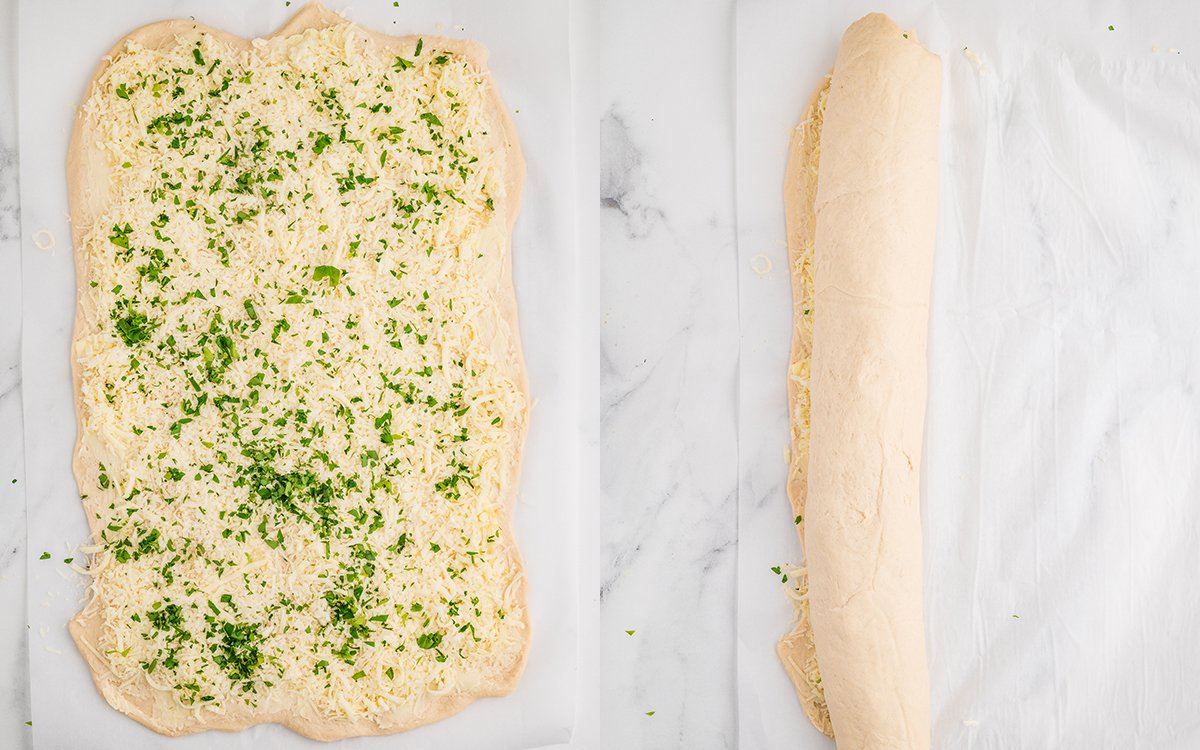
Lightly flour the counter and tip the bowl over to dump the dough out. With a rolling pin, roll the dough out into about 1/3-inch thick rectangle (see pictures below recipe).
Spread the butter around on top of the rectangle. I find using a rubber spatula very helpful in this. Sprinkle as evenly as you can first with the minced garlic, followed by the cheeses and parsley flakes. Finally, sprinkle with additional garlic salt. Roll up like you would a cinnamon roll and cut in about 1 ½ inch sections using dental floss, or a sharp knife or bench cutter. (about 12-15 rolls)
Topping-
Place 2-3 inches apart on a baking sheet lined with parchment paper and sprinkle with sea salt flakes, if desired. Bake for 22-27 minutes until light golden brown on top.
Remove from oven and brush lightly with melted butter.
Notes
Step-by-step pictures and Frequently Asked Questions below recipe card.
Yeast doughs require different amounts of flour depending on a lot of things- humidity and weather especially. In Helsinki I needed less flour than I do here in humid Alabama. Start with 5 cups and add more in ½ cup increments until your dough comes together and is no longer sticky. Don’t add too much or your rolls will be dry after baking.
Don’t over flour your counter when rolling or your rolls will be more dry. In the pictures I rolled it out on parchment paper just due to taking the dough to my photography table with better light. You can roll it out on the counter with a bit of flour or on parchment with no flour. I had no sticking to the parchment at all when I rolled it out.
Serve warm or wait until cooled. Dip in marinara or alfredo sauce, if desired.
(Old recipe I used 8 tablespoons of salted butter for the filling but have found that 6 works better.)
Keywords: bread, rolls garlic bread, sides, pasta side, cheesy rolls, garlic rolls, savory cinnamon rolls.
Frequently Asked Questions – Cheesy, Garlic Butter Rollups


This is the recipe we use all the time to go with pasta dishes!
I decided to try these for a change up of the usual breadstick or roll and I was not disappointed. It wasn’t all that much extra work and so delicious.
Okay, t h e b e s t r o l l e v e r !!!!! It’s seriously so yummy. I usually half the recipie for my family of 4 so we don’t pig out haha. I love making this with soups and Italian foods. I love that you don’t need a second rise. It’s so simple for a bread recipie. This is definitely my go to bread side dish.
These are so good! I’m intimated by yeast doughs but this was easy and uncomplicated. Addictingly good. I’m going to dream of these.
[…] this link to discover how to create these irresistible […]